Start your standard indoor electronics enclosure with this default specification set: FR-grade PC/ABS, 2.2mm nominal wall thickness, UL 94 V-0 flammability rating, molded-in Pantone color with an MT-11010 matte texture, and ±0.15mm general tolerance tightened to ±0.05mm strictly on mounting bosses and PCB standoffs. Locking these baseline custom plastic enclosure specs upfront covers 85% of commercial housings without inflating your mold quote, whereas over-tightening the remaining 80% of non-critical dimensions is where enclosure budgets die. Pair the ten engineering rules below with our complete buyer’s guide to sourcing precision plastic parts so you lock your drawing before cutting steel.
Table of Contents
- The 10 Enclosure Specs in the Order You Should Lock Them
- Two Enclosure Programs We Engineered and Molded End-to-End
- The Pre-RFQ Enclosure Specification Checklist
- Where ChilBo Fits in Your Enclosure Supply Chain
1. The 10 Enclosure Specs in the Order You Should Lock Them
Every dimension and material callout on your print dictates mold steel selection, slider count, and press cycle time. Lock these ten variables in sequence before sending your files out for quotation.
| Spec Parameter | Default Engineering Target | Primary Failure Mode If Spec Is Wrong | Cost / Tooling Impact |
|---|---|---|---|
| Material family | PC/ABS (indoor FR) or ASA/PC (outdoor UV) | Brittle boss cracking or UV yellowing within 6 months | 1.0x baseline (ABS is 15% cheaper; pure PC adds 10%) |
| Wall thickness | 2.0mm to 2.5mm uniform; ribs at 60% of wall | Cosmetic sink marks opposite bosses and 25% longer cycle | Every +0.5mm of excess wall adds 15% to 20% cooling time |
| UL 94 flammability | UL 94 V-0 at target wall thickness and color | Failed UL safety audit when pigment drops V-0 to V-1 | FR resin grades add 12% to 18% over standard resin cost |
| IP sealing groove | Tongue-and-groove at 25% to 30% gasket compression | Lid bowing between screws causing water ingress | Adds $400 to $900 in precision CNC groove milling |
| Mounting bosses | Boss OD = 2x screw OD; brass inserts for >3 cycles | Hooped boss splitting during torque-down on the line | Heat-set inserts add $0.06 to $0.12 per unit installed |
| Snap-fit arms | Cantilever strain at or below 6% to 8% of arm length | Stress whitening or sheared clips on the second opening | Pass-through shut-offs save $1,500 to $4,000 vs sliders |
| Dimensional tolerance | ±0.15mm general; ±0.05mm on CTQ datums only | Padded scrap margin and 40% higher piece prices | Blanket ±0.05mm callouts add 30% to 50% to mold cost |
| Surface texture | Mold-Tech MT-11010 to MT-11015 (1.5° to 2° draft) | Ejection drag scratches on vertical walls at 0.5° draft | Chemical etching costs $600 to $1,500 per cavity |
| EMI shielding | Conductive nickel/copper spray for 40 to 60 dB | Unshielded RF leakage failing FCC / CE emissions | Secondary spray + masking adds $1.20 to $3.50 per housing |
| Color & appearance | Molded-in Pantone/RAL with matte texture on A-side | Visible weld lines on high-gloss or dark painted shells | Molded-in color saves $0.80 to $2.00 per part vs painting |
Rule of thumb: lock the first four rows before you model internal ribs or bosses, because changing resin shrinkage or wall thickness later forces you to rebuild your entire CAD feature tree.
1.1 Material Selection: Match the Resin to Drop Height, UV, and Flame Rating
Default to PC/ABS for indoor electronics housings because it balances melt flow, Izod impact strength, and flame-retardant availability at a reasonable resin cost. This choice answers how the box survives a 1.5-meter drop onto concrete while meeting thermal and regulatory thresholds. Specify straight ABS only for low-cost indoor enclosures with zero flame rating requirements, switch to pure PC when you need transparent viewing windows or extreme impact toughness, and mandate UV-stabilized PC or ASA/PC for outdoor enclosures exposed to sunlight. If you put standard ABS outdoors or under high clamping stress, ultraviolet degradation and creep will crack the housing within a year; compare resin trade-offs in our ABS vs PC vs POM material comparison and lock your polymer grade before setting mold shrinkage.
1.2 Wall Thickness: Hold 2.0mm to 2.5mm and Core Out Heavy Intersections
Set your nominal wall between 2.0mm and 2.5mm for any enclosure over 100mm long, keep thickness uniform throughout the shell, limit thick-to-thin transitions to a gradual ramp under 60%, and size stiffening ribs at 60% to 70% of the adjacent wall. This spec answers whether the cavity fills cleanly without warping or sinking during cooling. When a designer leaves an uncored screw boss or mounting foot where the local plastic mass exceeds 3.0mm, the molten core shrinks inward after the outer skin freezes, pulling a visible crater (sink mark) directly into your cosmetic A-side surface. Core out every thick boss base and keep rib roots at 1.2mm to 1.5mm on a 2.2mm wall so you eliminate sink marks and avoid paying for extra press cooling time.
1.3 UL 94 Flammability: Verify the Rating at Your Exact Wall and Color
Specify UL 94 V-0 at your actual minimum wall thickness (for example, 2.0mm) and require the UL Yellow Card for your exact production color code. This answers whether your finished enclosure will pass a certifying body’s teardown audit without re-testing. A resin grade tested at V-0 in 1.5mm natural pellets does not automatically cover a 2.4mm part blended with an uncertified masterbatch pigment on the shop floor, which frequently drops flame performance to V-1 or HB. Demand a pre-compounded resin grade whose UL Yellow Card explicitly lists “All Colors” (ALL) at or below your thinnest structural wall so your safety listing stays bulletproof.
1.4 Sealing and IP Rating: Design the Groove for 25% to 30% Compression
Choose IP65 if your enclosure only faces rain and low-pressure washdowns, step up to IP67 only if it must survive 30-minute immersion at 1-meter depth, and machine a tongue-and-groove perimeter that compresses an elastomer gasket by 25% to 30% inside a groove width sized at 1.5x to 2.0x the gasket cross-section. This spec answers how the seal compensates for plastic warpage between clamping screws. When buyers use a flat-face lid clamping a hard solid rubber cord at 40% compression, the plastic lid bows upward between screw points and leaks during rain-chamber testing. Use a closed-cell sponge silicone or EPDM O-ring inside a supportive tongue-and-groove channel and space perimeter screws no more than 45mm to 50mm apart so the seal never unseats.
1.5 Mounting Structure: Size Bosses at 2x Screw OD or Use Brass Inserts
For one-time factory assembly, use thread-forming self-tapping screws into molded plastic bosses with an outer diameter (OD) equal to 2.0x the screw diameter (up to 2.2x if the wall is thin) and an engagement depth of at least 2.5x the screw OD; for covers opened repeatedly in the field, specify ultrasonic or heat-set knurled brass inserts. This determines whether your PCB and lid fasteners hold torque without splitting the column or stripping out. A M3 self-tapping screw driven into a thin-walled 4.5mm OD boss generates hoop stress that cracks PC/ABS after two service cycles, while a properly seated M3 brass insert provides over 800 N of axial pull-out force and unlimited service cycles. Specify self-tapping bosses strictly for permanent internal PCBs and pay the $0.08 per unit for brass inserts on every user-accessible service door.
1.6 Snap-Fits: Keep Cantilever Deflection Strain Below 6% to 8%
Design cantilever snap-fit hooks in PC/ABS so the maximum bending strain at the root stays at or below 6% to 8% of the arm length for one-time assembly, or below 4% if the cover must be opened 20+ times over the product life. This spec dictates whether your assembly crew can snap the lid shut by hand without stress-whitening or snapping off the latch. Short, stubby hooks with sharp 90-degree root corners concentrate stress and shear off during cold-room drop tests. Taper the beam thickness toward the tip, put a generous 0.5mm to 1.0mm radius at the base, and place a pass-through shut-off slot beneath the hook so you form the snap without paying $2,500 for a mechanical mold slider.
1.7 Tolerances: Hold ±0.15mm Generally and Tighten Only 3 to 5 CTQs
Set your drawing title block to ±0.15mm to ±0.20mm across the outer shell, and apply ±0.05mm callouts strictly to your 3 to 5 Critical-to-Quality (CTQ) interfaces — PCB locating pins, connector cutouts, and gasket groove depths. This answers how your internal electronics align with external ports without driving your tooling quote through the roof. Slapping a blanket ±0.05mm tolerance onto a 180mm plastic enclosure is physically unrealistic for polymers that shrink 0.5% to 0.7%, forcing the molder to pad piece prices by 35% to cover CMM sorting and scrap. Pin your PCB to one primary round datum boss and one slotted secondary boss so the board floats free of outer housing shrinkage.
1.8 Surface Finish and Texture: Specify MT-11010 Texture with Proper Draft
Call out a standard laser or chemical mold texture such as Mold-Tech MT-11010 to MT-11015 (or VDI 24 to VDI 27) on exterior walls, and add 1.0 degree of draft for every 0.025mm of texture depth (resulting in 1.5° to 2.5° total draft on textured vertical sides). This spec solves how you hide minor flow lines and handling scuffs while ejecting the part cleanly from the cavity. Specifying a textured sidewall with only 0.5° of draft causes the microscopic peaks of the steel texture to plow into the plastic during mold opening, leaving ugly white drag marks on every single part. Lock your texture code and draft angle together in CAD before tooling starts so you never have to polish out texture later.
1.9 EMI Shielding: Price Conductive Spray Against Metal Shields Early
When internal metal board cans cannot isolate RF noise on your PCB, specify selective internal conductive spray coating (nickel acrylic for low cost, copper/silver for 50 to 65 dB attenuation) rather than conductive-fiber-loaded resin. This answers how you pass FCC and CE radiated emissions in a plastic box without ruining exterior appearance or impact strength. Molding the entire housing out of stainless-steel-fiber or carbon-filled resin makes the shell brittle, turns the exterior dark mottled gray, and triples raw material cost, whereas secondary conductive spray inside the shell leaves your cosmetic exterior untouched for $1.20 to $3.50 per part depending on masking complexity. Define your masking keep-out zones on the 2D drawing upfront so the quotation includes painting fixtures from day one.
1.10 Color and Appearance: Choose Molded-In Color Over Wet Paint
Specify molded-in color matched to a physical Pantone or RAL chip combined with a matte texture on the A-side, and avoid wet polyurethane spray painting unless you are building a luxury consumer front bezel. This spec controls whether your unit cost stays around $1.50 or balloons past $4.00 due to secondary paint-line scrap. Glossy surfaces and metallic wet paints highlight every weld line where melt fronts meet around RJ45 or USB cutouts, resulting in 10% to 15% cosmetic reject rates. Stick to molded-in matte resin for industrial and commercial gear, and use two-shot injection molding if you need an integrated contrasting logo or light-pipe window without secondary adhesive assembly.
2. Two Enclosure Programs We Engineered and Molded End-to-End
Theory is easy on paper; steel and hot resin expose spec mistakes on the first shot. Here are two enclosure programs where our engineering team corrected design flaws to hit cosmetic and environmental targets on schedule.
2.1 Eliminating Cosmetic Sink Marks on a European Networking Router Housing
A European networking-gear maker transferred a desktop router enclosure to us after rejecting T1 samples from a previous vendor. The housing had a thin 1.6mm nominal top wall, but the internal PCB mounting bosses right underneath were modeled as heavy cylinders with a 3.2mm wall thickness. That 2:1 local thickness jump caused deep, shiny sink depressions across the top cosmetic surface, failing the client’s visual inspection standard.
Instead of asking the client to thicken the entire housing or add secondary top painting, our in-house tooling team applied the core rules from our guide on DFM changes that cut injection mold cost. We cored out the inner diameter and base of the bosses to reduce the local wall thickness to 1.1mm around a 2.2mm core pin, added four gusset support ribs at 65% of the nominal wall thickness to restore torque strength, and relocated the sub-gate to balance cavity packing pressure. The sink marks disappeared completely on the next trial without altering the external industrial design, and overall press cycle time dropped by 8% because the press no longer had to wait for a 3.2mm plastic mass to freeze.
2.2 Fixing an IP67 Leak on a US Outdoor Sensor Junction Box
A US outdoor-sensor brand came to us with an IP67 field junction box that was failing their 1-meter water immersion test. Their original CAD design used a flat-face polycarbonate lid pressing down onto a solid 70-Shore-A silicone gasket at 40% compression, secured by four corner screws spaced 95mm apart. Because solid rubber is incompressible — it only displaces laterally — the high reaction force bowed the plastic lid upward by 0.35mm at the mid-span between screws, opening a water path during thermal cycling.
We modified the cavity and core steel on the existing mold base to convert the flat flange into an interlocking tongue-and-groove perimeter channel. We switched the seal to a softer closed-cell sponge silicone cord sized for 25% compression, widened the groove to 1.6x the cord diameter to give the elastomer room to deform, and added two mid-span screw bosses to bring fastener spacing down to 45mm. The reworked housings passed full IP67 immersion and salt-fog validation on the first re-sample, saving the buyer $14,000 and six weeks compared to cutting a brand-new mold.
3. The Pre-RFQ Enclosure Specification Checklist
Before you email drawings to an overseas molder, verify that your RFQ data package explicitly locks these seven items:
3D STEP model paired with a 2D PDF drawing that balloons only the 3 to 5 CTQ dimensions and GD&T callouts.
Exact resin family, commercial grade (or required mechanical properties), UL 94 flame rating at target wall thickness, and Pantone/RAL color code.
Estimated annual volume and preferred batch order quantity (which dictates cavity count and P20 vs H13 mold steel).
Target ingress protection rating (such as IP54, IP65, or IP67) and whether the molder supplies and installs the elastomer gasket.
Secondary hardware requirements: exact part numbers or dimensions for heat-set brass inserts, EMI shielding attenuation targets, and pad-printing artwork files.
Exterior surface finish code (Mold-Tech, VDI, or SPI polish grade) mapped to cosmetic A, B, and C surfaces.
Target export market compliance documents required per batch (RoHS, REACH, UL Yellow Card, or UV weatherability reports).
Decision threshold: if your RFQ package omits more than two of these items, competing suppliers will pad their quotes by 15% to 30% to cover unknown tooling risks; conversely, if a supplier gives you a firm price without asking for this list, they are guessing on your part quality and will hit you with engineering change fees after you wire the deposit.
4. Where ChilBo Fits in Your Enclosure Supply Chain
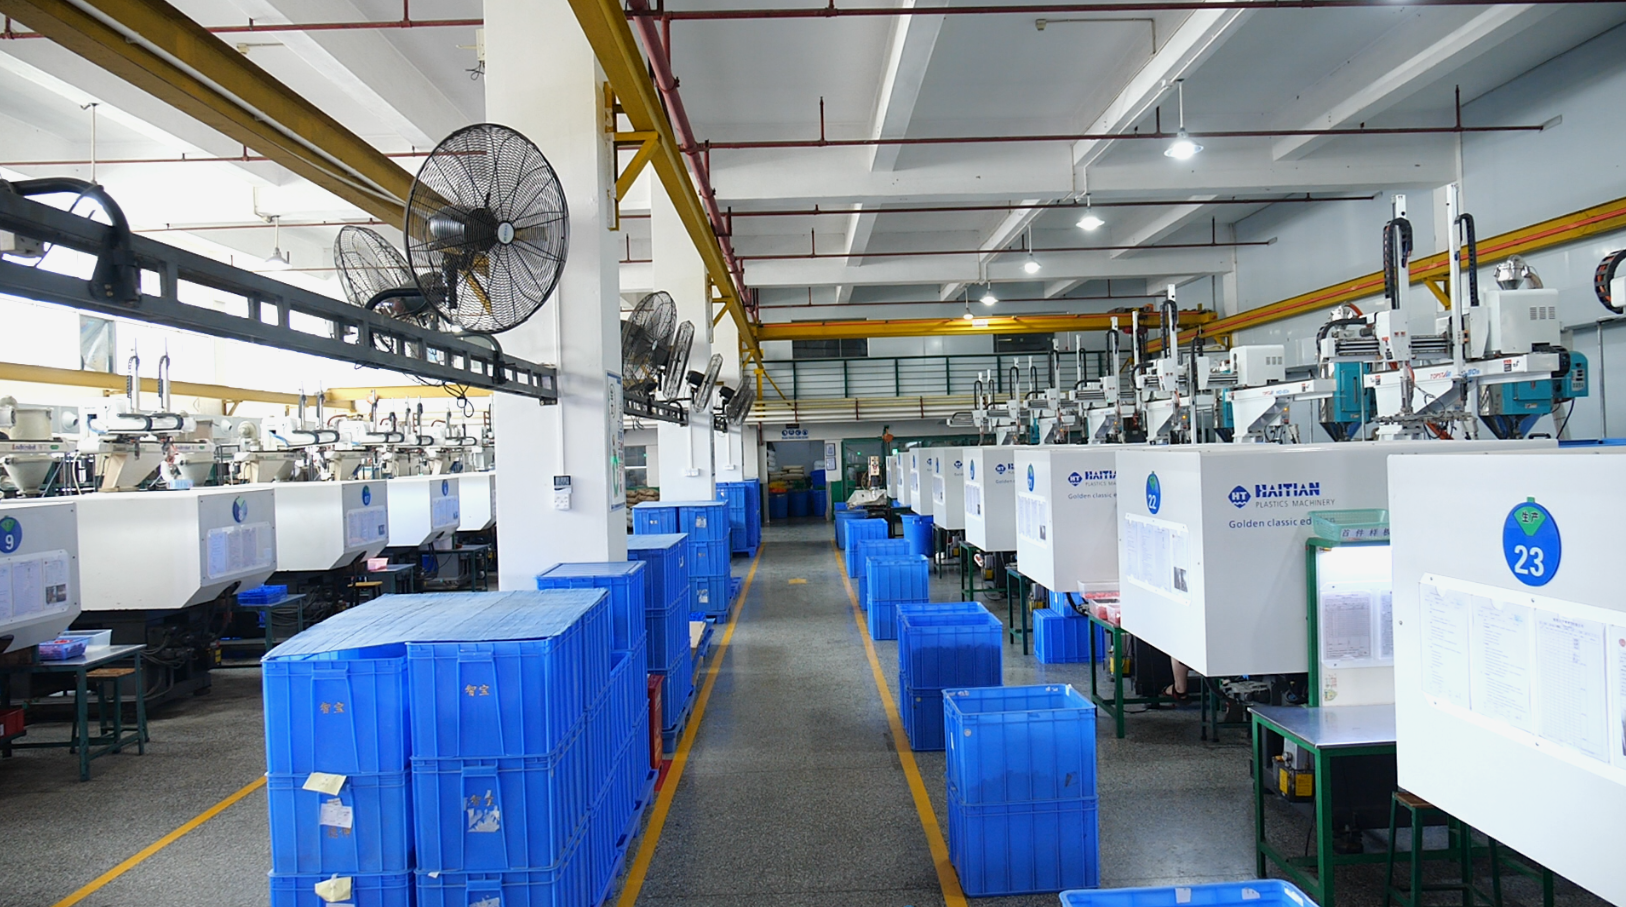
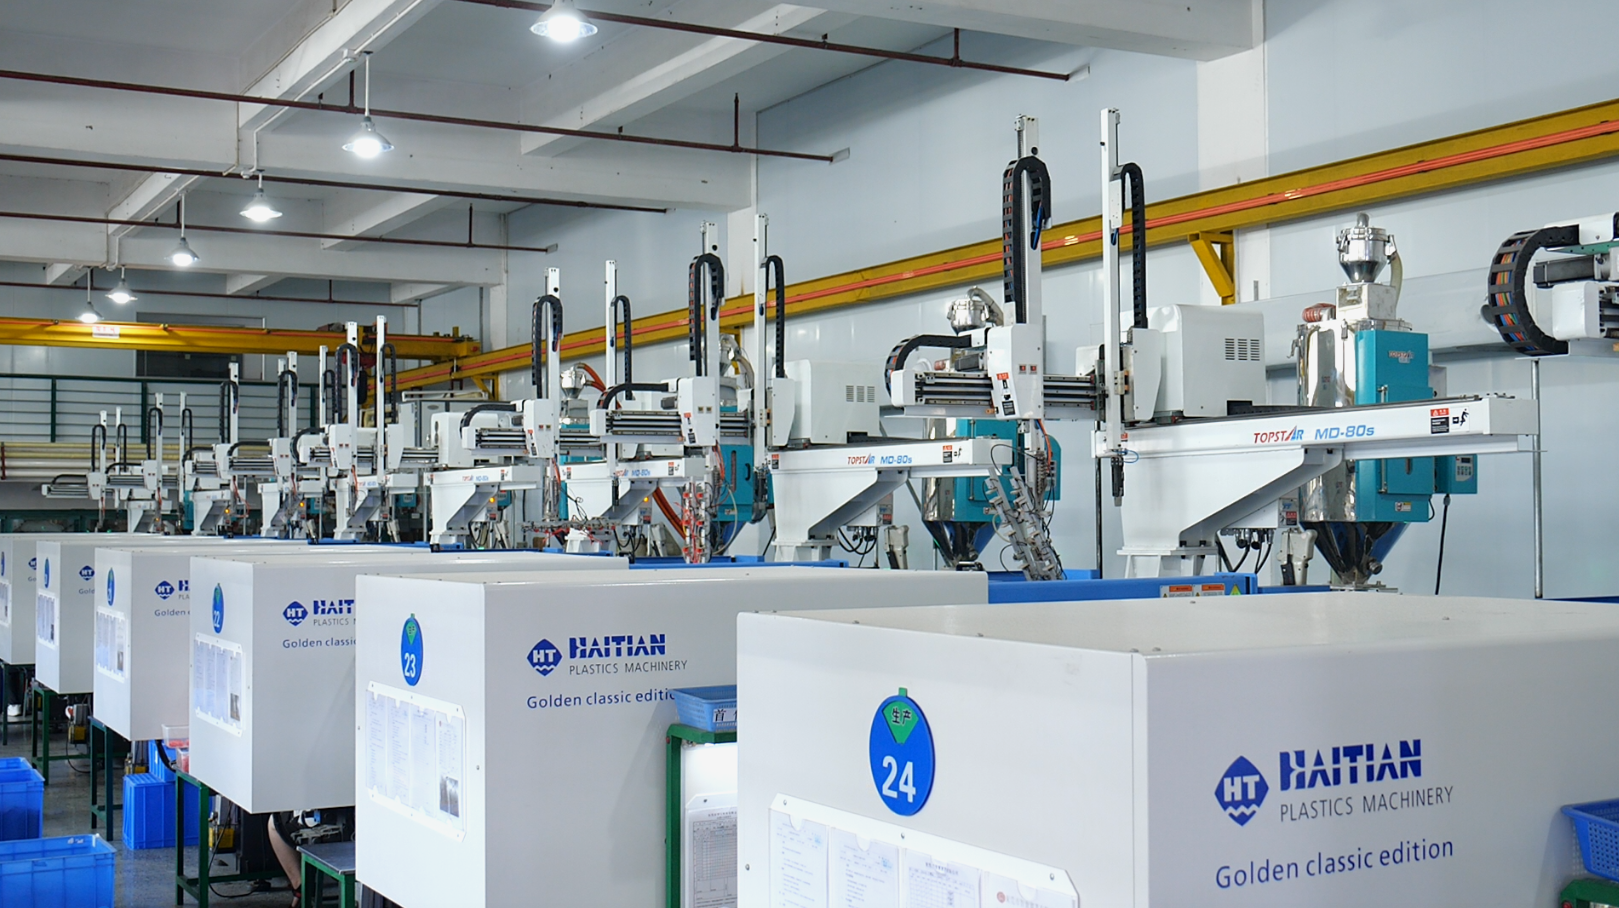
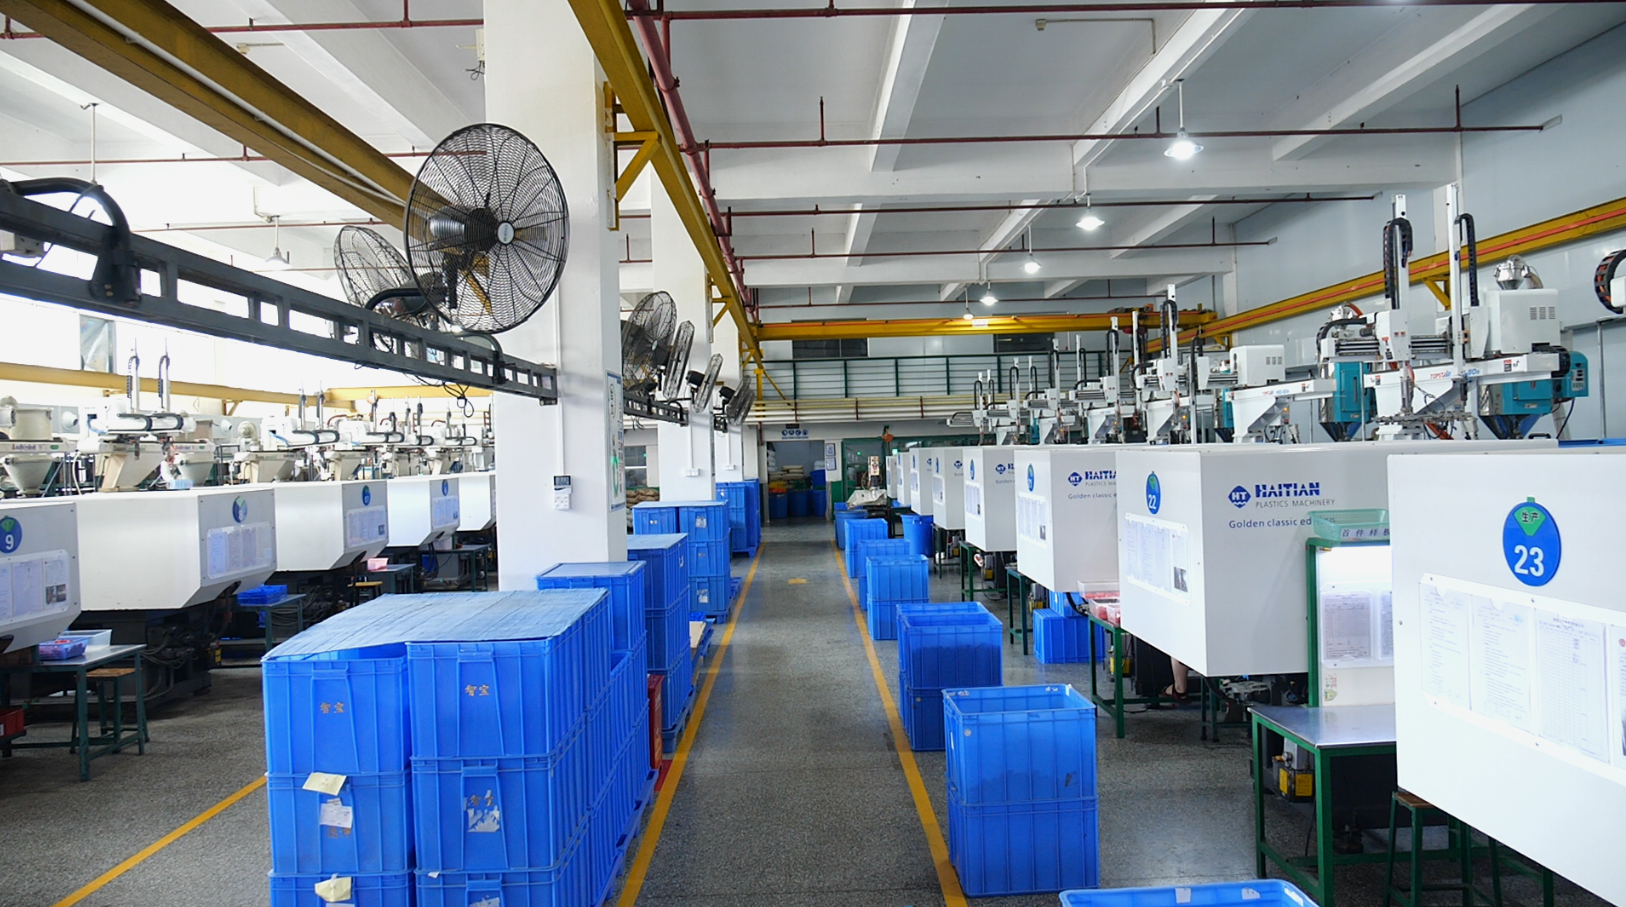
At our ISO 9001:2015 and ICTI-certified facility in Dongguan, we run 25 precision injection molding machines ranging from 86T to 360T — including a dedicated 250T two-shot press for housings with integrated TPE gaskets, soft-touch grips, or transparent light pipes. Because we operate a full in-house CNC and EDM mold shop under the same roof, our tooling engineers cut and groom enclosure cavities to ±0.01mm where critical connector interfaces demand it, and we execute steel-safe boss or gasket-groove adjustments in 48 hours without shipping tools to outside subcontractors. Every production batch we ship includes a full CMM/optical dimensional inspection report, virgin resin Certificate of Analysis (CoA), and final outgoing QC paperwork; review our custom plastic manufacturing capabilities to see our press list and metrology lab in detail.
Send your enclosure 3D STEP model, 2D drawing, target IP rating, and annual volume to our engineering team today — we will return a line-by-line DFM review (covering wall uniformity, draft angles, gasket groove geometry, and boss design) along with an itemized tooling and piece-part quote within 24 hours.
FAQ
What wall thickness should a custom plastic enclosure be?
For injection-molded enclosures between 100mm and 250mm long, design for a uniform nominal wall thickness of 2.0mm to 2.5mm. Dropping below 1.8mm makes large cavities hard to fill in flame-retardant resins and reduces drop-impact strength, while going above 3.0mm causes cosmetic sink marks and adds 20% to 35% to your press cycle time.
Is PC/ABS better than standard ABS for electronics housings?
For commercial and industrial electronics, yes. PC/ABS provides much higher impact resistance (especially in cold environments), a higher heat deflection temperature, and a wide selection of thin-wall UL 94 V-0 flame-retardant grades. While raw PC/ABS resin costs roughly 15% to 25% more per kilogram than standard ABS, the upgrade is mandatory whenever your product requires UL safety certification or field drop durability.
How do I choose between IP65 and IP67 for an outdoor enclosure?
Choose IP65 if the housing is mounted on a wall or pole where it only faces driving rain, dust, and low-pressure water jets. Step up to IP67 only if the enclosure sits in a ground pit, marine bilge, or washdown zone where temporary submersion up to 1 meter for 30 minutes is a real risk. Remember that passing IP67 depends far more on a rigid tongue-and-groove mold design and tight screw spacing than on buying an expensive gasket.
Can an injection molder handle EMI shielding and brass inserts in-house?
Most precision molders install heat-set or ultrasonic brass inserts directly on the press floor as part of the molding cycle, while conductive EMI spray coating is typically executed by an audited specialty painting partner using custom masking fixtures. Always require your molder to take single-point ownership of the finished assembly and verify surface resistivity (ohms per square) and coating adhesion via cross-hatch tape testing on every incoming coated batch.