Eliminating side-action undercuts, coring out walls to a uniform 1.5–3.0 mm, and matching tool steel to your actual production volume cut DFM injection molding cost by 20% to 40% before a single chip of steel is cut. Apply these ten shop-floor revisions alongside our complete buyer’s guide to sourcing precision plastic parts to strip thousands of dollars out of your tooling quote and slash unit cycle times.
Table of Contents
- The Five Cost Drivers in Every Mold Quote
- The 10 DFM Changes That Cut Tooling Cost 20–40%
- Three Problems We Actually Rescued From the Toolroom
- What Our Free DFM Review Catches
- Red Flags in a Mold Quote
- How to Get Your Quote Down
1. The Five Cost Drivers in Every Mold Quote
Part geometry decisions made in CAD lock in 60% to 80% of your total DFM injection molding cost long before the drawing reaches the toolroom. Every mold estimator prices your tool around five mechanical variables:
| Cost Driver | Typical Impact | What Fixes It |
|---|---|---|
| Wall thickness | 10–25% cycle time penalty | Core out thick sections to a uniform 1.5–3.0 mm with support ribs |
| Undercuts / side-actions | $1,000–$6,000 per slider | Convert to pass-through shut-offs or straight-pull core geometry |
| Draft & ejection | Up to 23% drag/scratch scrap at 0° | Apply ≥1.5° draft on all vertical walls to avoid deep EDM polishing |
| Material & steel grade | 20–35% tool cost jump for hardened H13 | Specify P20 steel for runs under 500k and avoid unnecessary glass fills |
| Tolerance & cosmetics | 15–50% piece and tool premium | Restrict tight callouts to 2–5 mating features; keep standard finish elsewhere |
2. The 10 DFM Changes That Cut Tooling Cost 20–40%
If you only make three changes before locking the RFQ, make these: kill every side-action with a pass-through shut-off (2.2), core thick sections down to a uniform 2.0 mm shell with ribs instead of a thick plate (2.1 and 2.4), and standardize radii and bosses to standard cutter sizes (2.8). On the molds we quote, those three alone typically return 20–30% of the tooling number; the other seven squeeze cycle time, scrap, and lead time.
2.1 Hold Uniform 1.5–3.0 mm Walls and Core Out Heavy Masses
Cooling occupies roughly 70% of an injection molding cycle, and cooling time scales with the square of the wall thickness. Doubling a wall from 2.0 mm to 4.0 mm quadruples the freeze time, inducing internal voids and warpage. Coring out thick mounting blocks to a uniform 1.5–3.0 mm shell cuts cycle time by 10% to 25% and lowers piece-part price immediately.
2.2 Eliminate Undercuts by Using Pass-Through Shut-Offs
Every side-mounted snap hook, perpendicular cable port, or recessed logo traps the part in the steel, requiring a mechanical slide or hydraulic lifter. Each side-action adds $1,000 to $6,000 in machining and fitting labor and increases overall tool cost by 20% to 40%. Open up the base under a snap-fit hook to create a vertical pass-through shut-off (kiss-off), allowing the core and cavity to form the clip in a simple straight-pull open/close motion.
2.3 Apply at Least 1.5° Draft on Every Vertical Wall
Zero-degree vertical walls create vacuum lock and high ejection friction as the plastic shrinks onto the core. On 0° walls, ejection drag marks and scuffing drive scrap rates near 23%, forcing the toolmaker to spend days hand-polishing steel in the draw direction. Adding 1.5° to 2.0° of draft on standard walls (and 3°+ on textured faces) drops ejection-related scrap to 0.5% and lets parts drop freely on fast automated cycles.
2.4 Size Structural Ribs at 50–60% of the Nominal Wall
When a flat housing cover flexes, buyers often make the mistake of thickening the entire plate from 2.0 mm to 3.5 mm. That triggers deep sink marks on the cosmetic A-side and adds resin weight to every shot. Keep the main wall at 2.0 mm and add a stiffening rib network sized at 50% to 60% of the base wall (1.0 mm to 1.2 mm thick at the root), which delivers higher bending stiffness while preventing cosmetic sink.
2.5 Consolidate Two or Three Sub-Parts into One Molded Component
Cutting three separate small molds for a bracket, a cable clamp, and a housing frame triples your mold bases, hot-runner drops, and setup fees. Combining 2 to 3 adjacent components into a single multi-function part—using living hinges, integral snap clips, or two-shot overmolding—cuts total tooling spend by roughly 30% and eliminates 15% in downstream manual assembly and fastener labor. If you are building an electronics housing, check our custom plastic enclosure specs checklist to merge mounting features cleanly.
2.6 Right-Size Your Tool Steel: P20 vs. Hardened H13
Do not pay for a 1,000,000-shot hardened H13 or S136 production mold if your forecast is 40,000 units a year over five years. Upgrading from pre-hardened P20 or 718H steel to through-hardened H13 adds 20% to 35% to your mold invoice due to heat-treatment cycles and slower post-hardening EDM/grinding. Specify P20 for unfilled resins under 500,000 shots, and reserve H13 strictly for high-volume tools or abrasive glass-filled polymers.
2.7 Drop Glass or Carbon Fill Unless Structural Loads Demand It
Specifying 30% glass-filled PA66 or PBT when an unfilled ABS, PC, or POM grade meets the load limit punishes your budget twice. First, unfilled commodity and standard engineering resins cost roughly half as much per kilogram as specialty reinforced grades. Second, chopped glass fibers act like liquid sandpaper inside the gate and runner, forcing you into hardened tool steel, replaceable carbide gate inserts, and higher preventative maintenance costs.
2.8 Standardize Radii, Boss Sizes, and Draft Across Product Families
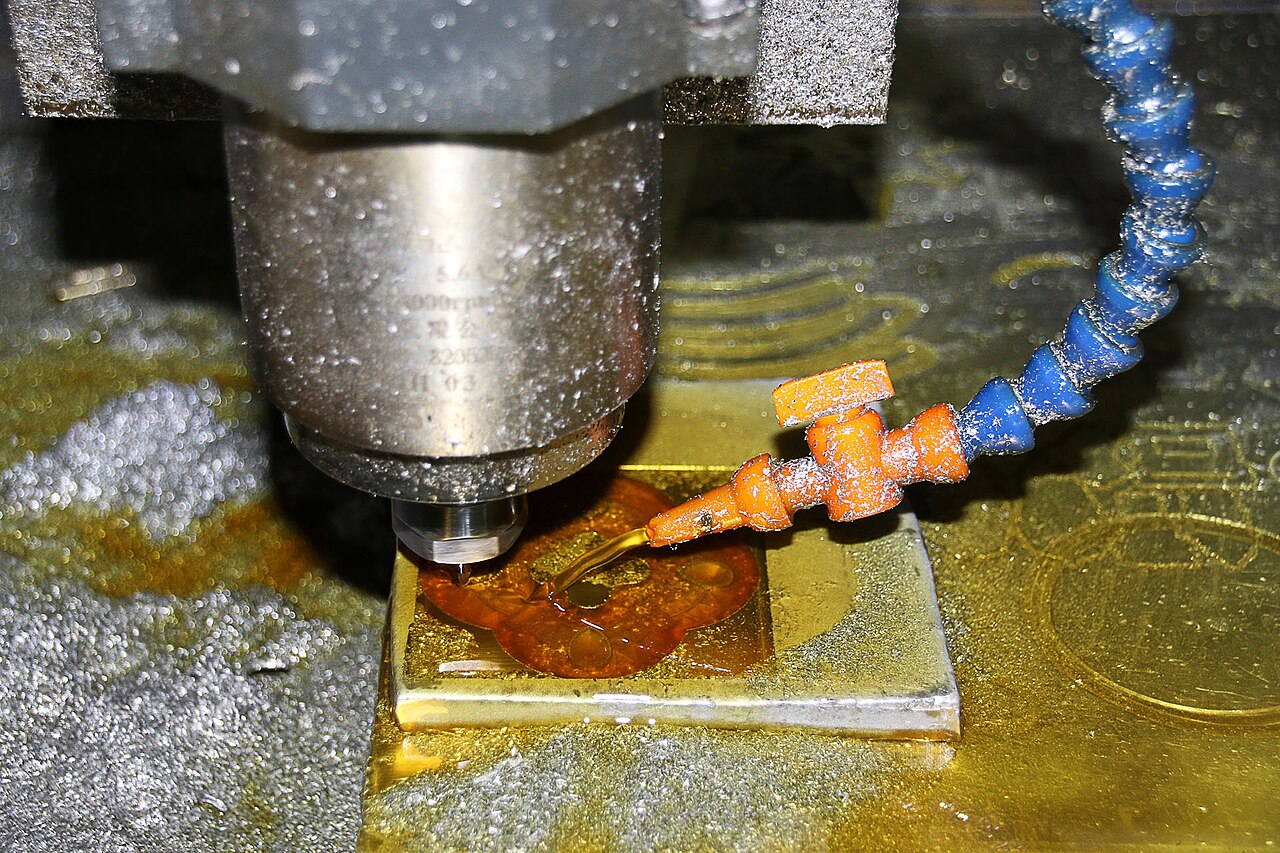
If your CAD model contains seventeen different internal fillet radii (0.3 mm, 0.45 mm, 0.7 mm, 1.1 mm) and four different screw-boss diameters, the CNC machinist must swap end-mills constantly and burn odd corners with custom copper EDM electrodes. Standardizing internal radii to match standard metric cutter sizes (e.g., R1.0 mm or R1.5 mm everywhere) and unifying boss geometries across a product family cuts CNC/EDM hours and shortens tool lead time by 2 to 4 weeks.
2.9 Design Direct, Balanced Cooling Channels Early
Treating water lines as an afterthought drilled around ejector pins creates hot spots around deep cores, forcing the operator to hold the press closed just to freeze one thick boss. Routing balanced water channels—or adding beryllium-copper inserts and conformal cooling paths around deep ribs—cuts total press cycle time by 20% to 40%. On a 100,000-piece order, shaving 12 seconds off the cycle pays for the cooling upgrade in the first production run.
2.10 Run Full DFM and Moldflow Before Cutting Steel
Moving a gate or changing wall thickness inside SolidWorks or Moldflow costs zero dollars in raw material. Discovering a weld line or trapped air pocket at T1 sampling requires welding up tool steel, re-machining the cavity, and burning new EDM electrodes—post-tooling rework that easily exceeds 30% of the original mold price. Conducting a formal pre-tooling DFM review saves $3,000 to $8,000 per project in avoided engineering change orders (ECOs).
3. Three Problems We Actually Rescued From the Toolroom
All three of these arrived after a first attempt had already failed somewhere between the toolroom and the assembly line — flash at T1, a bond that peeled at −20 °C, warpage that extra ribs could not fix. What saved each program was toolroom work the original shop had skipped.
3.1 The Connector Housing That Threw Flash on Every Shot
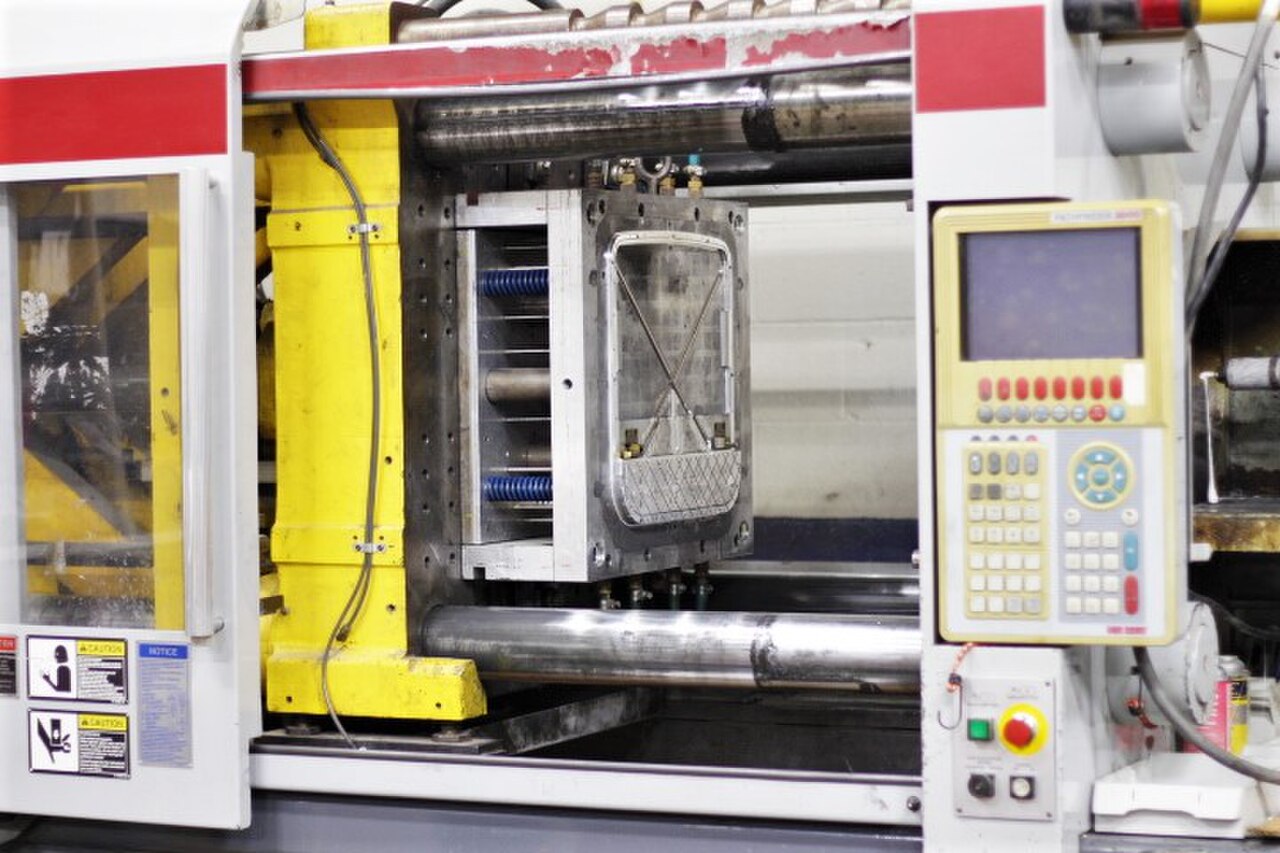
A Shenzhen Tier-2 automotive supplier sent us a PA66-GF30 connector housing after they had already paid a 40% deposit to another shop. That shop’s first tool (T1) flashed at the parting line on every cavity, and the internal snap-ring groove needed a hydraulic side-core that was mistimed — it left a 0.4 mm scar on the locking face. The buyer was two weeks from a PPAP deadline.
What our in-house toolroom did:
- Rebuilt the cavity as a single-cavity layout with a straight-pull split insert for the internal ring, replacing the mistimed hydraulic core. No lifter, no timing valve to drift out of sequence.
- Rebalanced the runner so both gates filled within 0.3 seconds of each other. The original imbalance — not the clamp tonnage — was the actual cause of the flash.
- Dropped the steel from the other shop’s through-hardened H13 to pre-hardened P20. The run was 80,000 units a year; H13 was durability nobody would ever use.
Result: flash gone, the locking-face scar eliminated, cycle time from 38 s down to 24 s, and the tool invoice came in below what they had already partially paid. The buyer shipped PPAP on time.
3.2 The Soft-Touch Grip That Kept Delaminating
A German consumer-medical brand was bonding a TPE overmold to a rigid ABS handheld shell with adhesive. At room temperature it held; at −20 °C it peeled, and the two-part assembly needed a second operator just to fixture and glue. Their existing supplier told them “TPE won’t bond to ABS” and quoted a three-part redesign.
We ran it on our 250T two-shot machine instead. Shot one molded the rigid ABS shell; shot two injected the TPE grip into the same cavity, chemically bonded with no adhesive. The trick was gating the TPE through the parting line onto a freshly molded ABS surface — a chemical weld, not a glue joint. We validated it with a 500-cycle drop test at −20 °C and a knife-peel check; both passed. The assembly step and the second operator disappeared, and the bond outlasted the test.
3.3 The PPS Component That Warped 0.3 mm
A US industrial-sensor maker’s PPS-GF40 component was warping 0.3 mm across the flange — six times their 0.05 mm mating spec. Their first supplier had added ribs and called it done; the part still bowed.
Our engineers ran a Moldflow pass and found the real cause: an unbalanced fill left a weld line across the flange, and a deep core cooled roughly 9 seconds slower than the rest of the part. The fix used two in-house capabilities:
- We rerouted the gate to a fan gate at the parting line so the melt reached both ends of the flange together, killing the weld line.
- We dropped a beryllium-copper insert around the deep core — conformal-style cooling — to pull that hot spot back in line with the rest of the cycle.
- The critical bore, which actually needed the tight callout, we held to ±0.01 mm and verified it on our CMM, not a hand caliper.
Warpage came back to 0.04 mm. The buyer kept their existing mold base; we changed only the gate and the one insert.
4. What Our Free DFM Review Catches
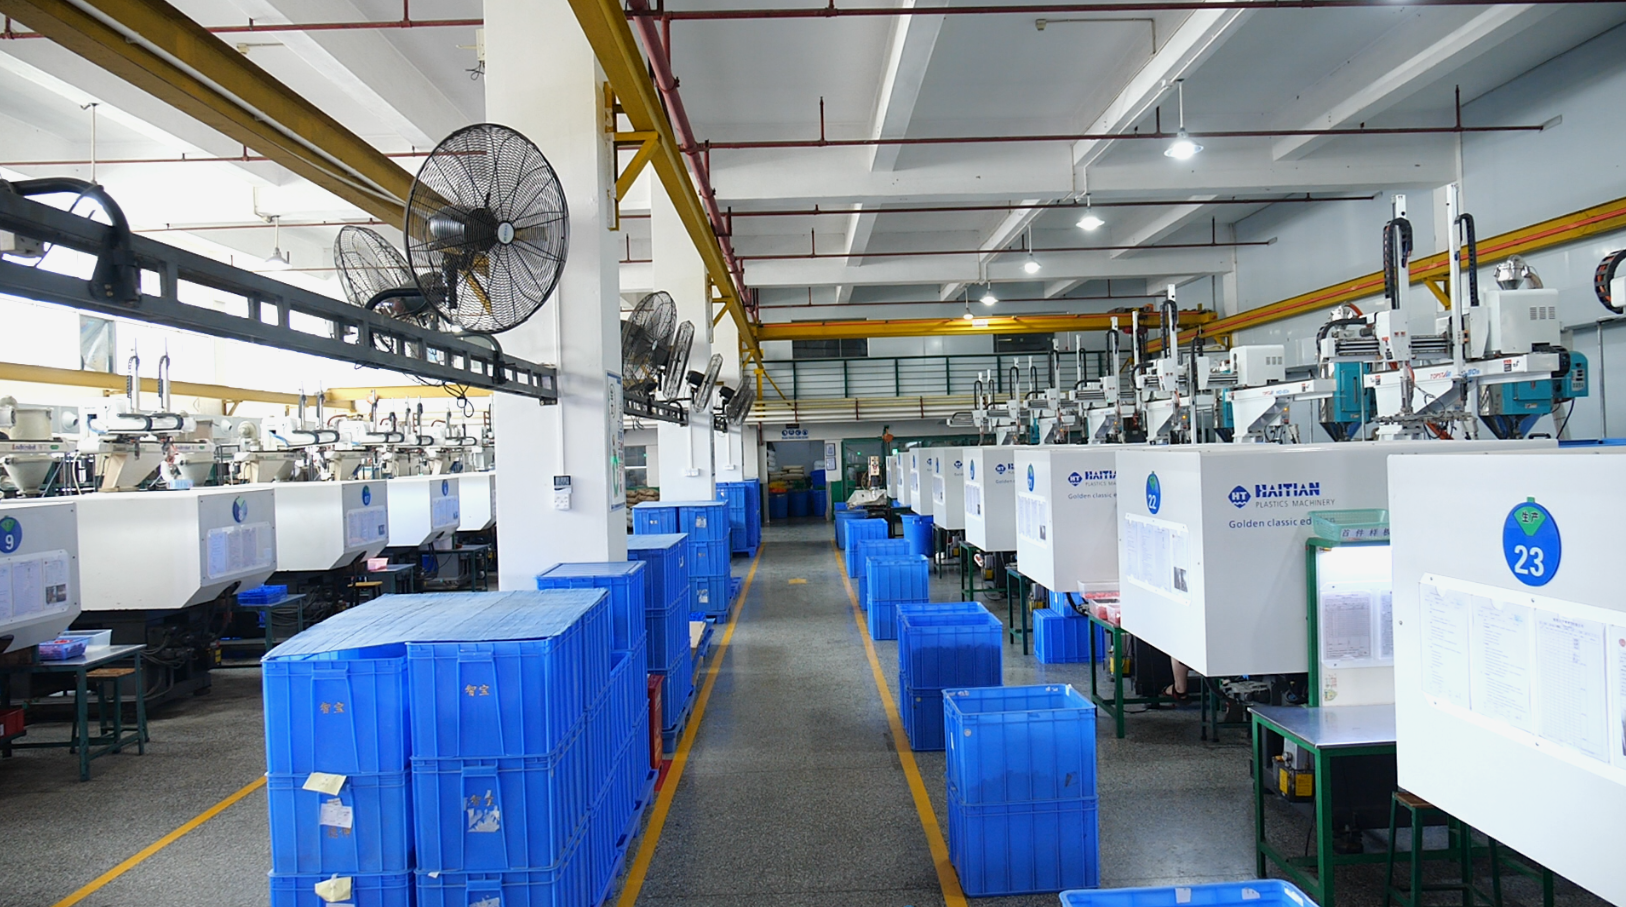
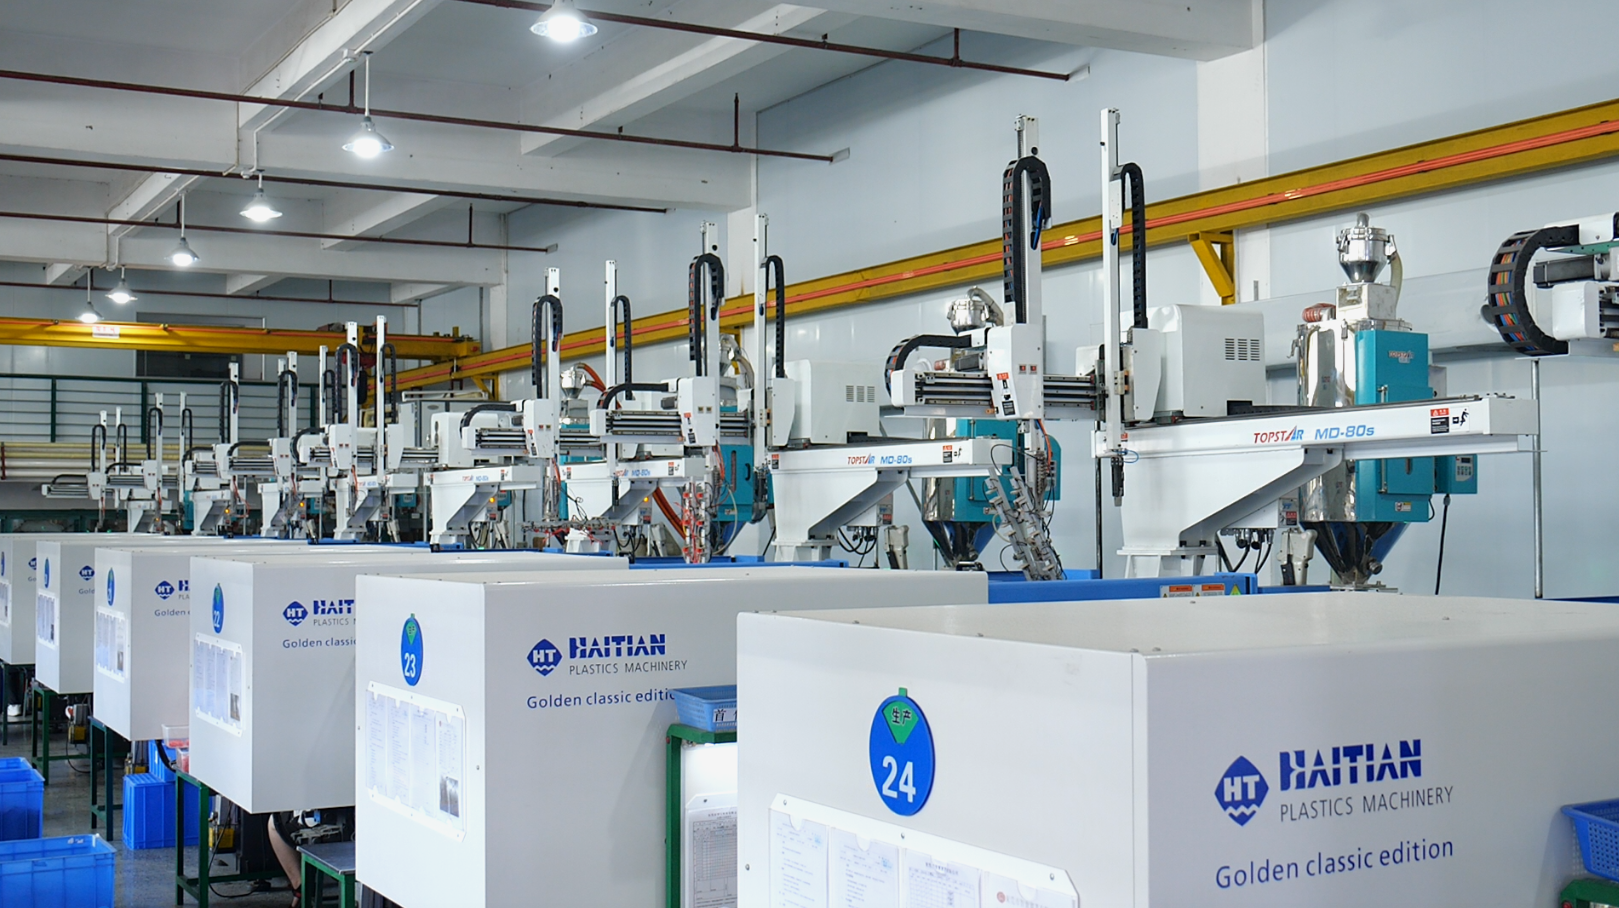
Brokers pass your STEP file straight to a sub-tier shop and pad the quote to cover hidden geometry risks. Because ChilBo operates an in-house toolroom alongside 25 injection presses (86T to 360T, including a dedicated 250T two-shot machine) at our ISO 9001 and ICTI-certified Dongguan facility, we prefer to fix cost drivers in CAD before we quote you.
When you submit a drawing, our senior tooling engineers run a free pre-quote DFM and Moldflow simulation that flags:
Slide-to-shut-off conversions: Exact CAD markups showing how a 1 mm geometry tweak eliminates a $2,500 slider.
Fill, pack, and cooling bottlenecks: Color-mapped wall-thickness plots and gate-freeze simulations showing where coring out a boss cuts 10 seconds off your cycle time.
Tolerance vs. cost mismatches: Callouts where a non-critical feature crosses a parting line or demands unnecessary ±0.01 mm precision (though our toolroom holds ±0.01 mm where your mating assembly truly needs it).
5. Red Flags in a Mold Quote
Five quote patterns mean the bid is padded or headed for a T1 failure — any single one justifies a re-bid before you release the deposit:
Quoting a raw CAD file with zero DFM feedback: If a supplier sends back a price in two hours without questioning a 5 mm thick wall or a negative draft angle, they plan to hit you with expensive tooling modification charges after you pay the 50% deposit.
Bidding 0° draft without a warning: Any toolmaker who agrees to mold deep vertical walls at 0° draft without flagging ejection scuffing does not understand production cycle stability.
Pricing H13 hardened steel for a 10,000-piece ABS run: Quoting premium hardened steel on a low-volume, unfilled resin project pads the toolmaker’s margin by 25% to 35% for durability you will never use.
Hiding slider counts in a lump-sum number: A transparent quote breaks out cavity count, mold base standard (LKM/HASCO), steel grade, and the exact number of lifters and sliders.
Accepting blanket tight tolerances across the print: If your title block defaults to ±0.05 mm on every non-critical rib and the vendor doesn’t push back, you are overpaying for inspection and tool grooming—read our detailed breakdown on injection molding tolerances and what they cost to see how blanket callouts inflate piece prices by up to 60%.
6. How to Get Your Quote Down
Do not pay for complex mold actions or slow cooling cycles that a 15-minute CAD revision could eliminate. Send your 3D STEP file, 2D drawing, resin spec, and annual volume to our engineering team via our capabilities page today—we will run a free DFM and Moldflow pass and return an itemized quote within 24 hours, complete with specific geometry recommendations and the exact dollar savings for each change.
FAQ
How much does a pre-tooling DFM review actually save on an average mold?
On a typical single-cavity precision mold quoted between $10,000 and $25,000, implementing DFM changes prior to cutting steel saves 20% to 40% on tooling ($3,000 to $8,000 on average) and reduces unit piece price by 15% to 25% through faster cooling cycles and lower scrap rates.
Can I remove an undercut without changing how my mating part works?
In most cases, yes. By putting a small cutout directly beneath a snap-fit hook (a pass-through shut-off) or splitting a feature along the parting line, the main core and cavity can form the locking tab directly. Your mating part snaps into the exact same geometry, but you save $1,000 to $6,000 per eliminated mechanical slider.
When is it worth paying more for hardened H13 mold steel instead of P20?
Pay the 20% to 35% premium for hardened H13 (or S136 stainless) when your lifetime volume exceeds 500,000 shots, when you are molding abrasive glass- or carbon-filled resins (like PA66-GF30 or PPS-GF40), or when the part requires an optical SPI A-1/A-2 mirror polish. For unfilled ABS, PC, PP, or POM under 500,000 shots, pre-hardened P20 or 718H delivers the exact same part quality at a significantly lower tooling cost.