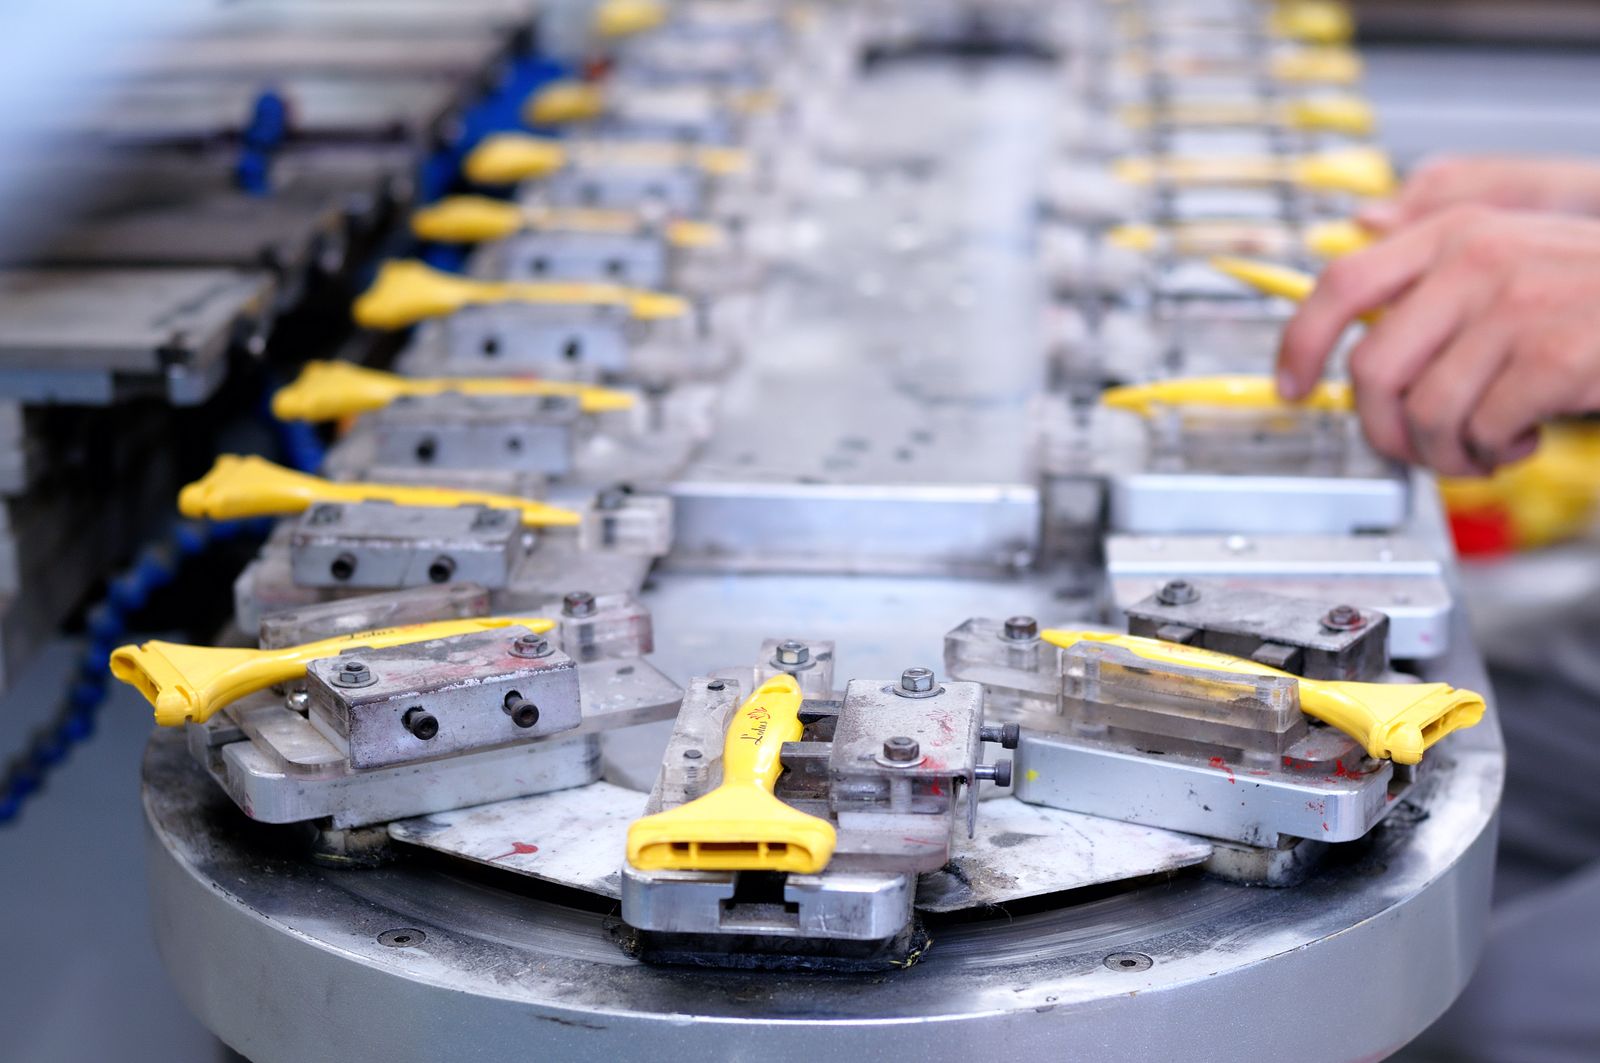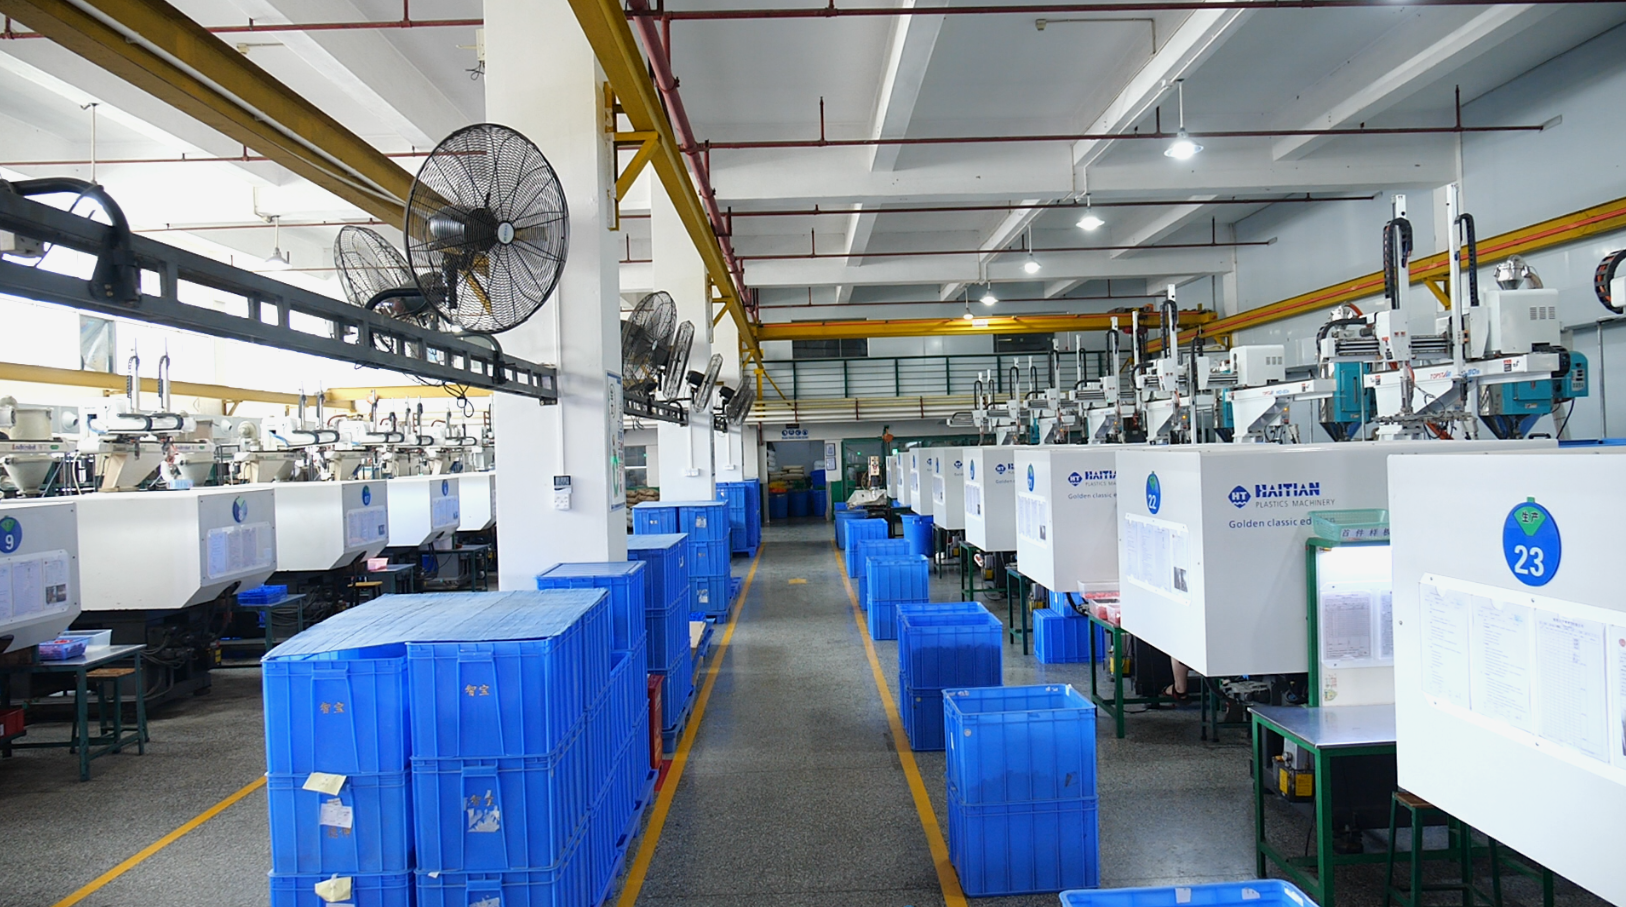
A successful injection mold transfer starts before any steel is shipped. Before you move a single tool, the receiving factory should confirm three things: a complete tool-to-kit list, the current condition of each mold, and whether its machines can run the tooling to the fit and finish your kit needs. For model kit brands moving legacy tooling, the biggest risk is not transport. It is discovering after the molds arrive that one kit is missing a mold, that first shots show flash or short shots, or that nobody agreed who pays to fix it. This guide uses a real model-car tooling transfer to show what to check, and how an injection mold transfer checklist turns a pile of old molds into a clear production answer.
Table of Contents
- Quick Answer: What Has to Happen Before You Move Tooling
- Why a Tooling Transfer Is a Decision, Not a Shipment
- The Pre-Move Document and Sample Checklist
- Record a Mold Condition Baseline Before Steel Moves
- Check Machine Compatibility at the Receiving Factory
- Receiving Inspection: Match Every Mold to Its Kit
- Run T1: Read the First Samples Before You Commit
- A Real Model-Car Transfer: What We Found and How We Reported It
- Cavity-by-Cavity Validation and the Multi-Kit Arrival Matrix
- Who Owns What: Custody, Responsibility, and Cost
- How to Choose the Right Transfer Partner
1. Quick Answer: What Has to Happen Before You Move Tooling
A tooling transfer has four gates. First, agree on a written inventory that links every mold to a part number and a kit. Second, capture the current condition of each mold before it leaves, with photos and sample parts. Third, confirm the receiving factory’s machines, fixtures, and process can hold your tolerances. Fourth, run a first trial (called T1) on the new equipment and inspect the parts before you commit to a production schedule. Skip any gate and the problem will surface later, usually at the worst time.
The goal is not to move steel from point A to point B. The goal is to reach a state where a factory can say, with evidence, which molds are ready to run, which need repair, and which are still missing. Our custom model kits manufacturing guide explains how tooling fits into the wider production flow once a transfer is complete.
2. Why a Tooling Transfer Is a Decision, Not a Shipment
Treating a transfer as a freight job is the most common mistake. A mold that ran well at one factory can produce flash, sink marks, or warped parts at another, because injection molding depends on the machine, the settings, the cooling, and the operator as much as on the steel. That is why the choice of receiving factory is a technical decision, not a logistics one. A specialist that takes on existing tooling will assess the molds and show you trial evidence before promising a date.
The risk is higher for model kits than for single-part products. One kit can be made up of a body, a chassis, an interior, wheels, tires, clear windows, surface-finished pieces, and printed items. Each of the molded parts comes from its own tool. If the main body mold arrives but the clear-window mold does not, you cannot assemble or ship the kit. So the real question is not “did the truck arrive?” It is “can we complete a full kit, and when?”
Some brands discover during a transfer that they also want to refresh the design. If your old molds need new parts added, our guide to taking a 3D file through to production shows how new components are developed alongside existing tooling.
3. The Pre-Move Document and Sample Checklist
Before anything ships, build one shared source of truth. It should be a simple table that both you and the receiving factory can edit. The table becomes the basis for receiving inspection, trial planning, and cost discussion. For hobby and collectible programs, note which parts belong to which kit and which surface finish each part needs, because those details are easy to lose between factories.
| What to prepare | Why it matters | What “ready” looks like |
|---|---|---|
| Mold ID and part number list | Links each tool to the part and the kit it belongs to | Every mold has a unique ID matched to a part number |
| Kit bill of materials (BOM) | Shows which parts make a complete, shippable kit | Each kit lists all required parts and finishes |
| Latest sample parts | Gives a visual baseline for color, texture, and fit | Approved samples kept and labeled by part number |
| 2D drawings or 3D files | Used to check dimensions and plan any repair | Current revision shared under NDA |
| Material and color spec | Resin and pigment affect flow, shrink, and fit | Resin grade and color standard confirmed |
| Prior issues and repair history | Explains known weaknesses before they surprise you | A short note on each mold’s problem areas |
| Expected run volume | Drives decisions on repair versus replace | A realistic volume range, even if approximate |
For a scale-model context, tying the checklist to the end product helps. Our page for model and collectible brands describes the fit and finish standards that these parts are normally held to.
4. Record a Mold Condition Baseline Before Steel Moves
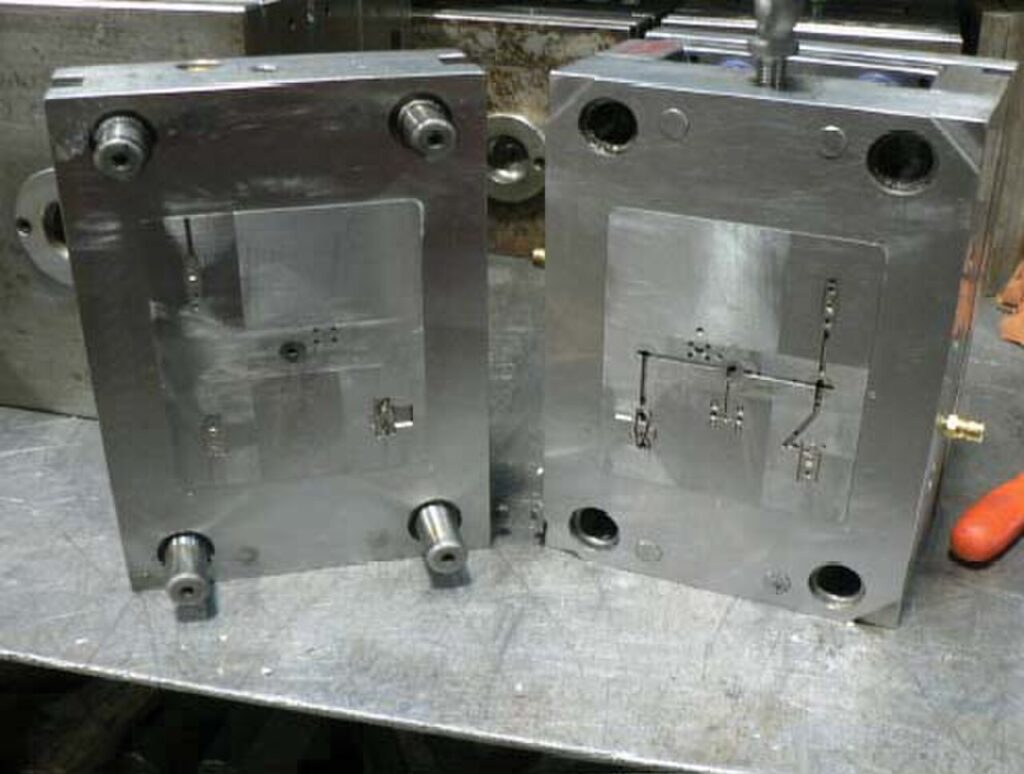
You cannot judge whether a factory changed a mold if you do not know how it arrived. Photograph each tool from several angles before dispatch. Record the number of cavities, the condition of parting lines and vents, any visible wear, and the last parts it produced. Keep one approved sample part per cavity where possible. This baseline turns a later complaint from an opinion into a fact.
In the transfer described later in this article, several molds looked sound but produced flash and short shots on the first trial. Without baseline photos and earlier samples, it would have been hard to show whether the fault came from the mold or from the new machine’s settings. Records kept from day one made that judgment possible.
5. Check Machine Compatibility at the Receiving Factory
Old molds were built for a specific machine. Before you move them, compare clamp tonnage, platen size, tie-bar spacing, nozzle type, ejector layout, and cooling connections. A mold that physically fits but sits beyond the machine’s capacity will flash. A mold with a cooling layout the new machine cannot feed will run hot and warp. Ask the factory to confirm these points in writing, not verbally.
Also check the process around the machine: drying for hygroscopic resins, material handling, and the operator’s experience with tight-tolerance parts. As a reference point, ChilBo runs more than 25 injection presses covering 86–360 tons of clamp force, with an in-house tooling shop that holds mold precision to ±0.01 mm. A receiving partner needs that kind of span to absorb tools that were built for different machines. The factory’s custom manufacturing capability should cover both the equipment and the people who run it.
6. Receiving Inspection: Match Every Mold to Its Kit
When tools arrive, inspect against the inventory you built earlier, not against a memory. Confirm the mold ID, check for transport damage, count cavities, and log what is present and what is still pending. The output should be a simple status sheet that tells you exactly which kit each missing mold blocks.
This step matters more than most brands expect, and it is where our own transfer project ran into reality. Molds for one kit often arrive in batches: the main body mold turns up first, while the clear-window or other supporting mold follows later. If you only track molds as a total count, you will think the job is nearly done when a kit is actually still incomplete.
7. Run T1: Read the First Samples Before You Commit
T1 is the first trial run on the receiving factory’s equipment. Its purpose is to produce evidence, not perfect parts. Run each mold, keep the sample parts and photos, and record the settings used. Then inspect the parts against your baseline. A structured OEM and quality process treats T1 as a formal checkpoint with documented results. For scale-model work, the target is fine detail and repeatable fit: tooling for model kits is held to about ±0.02 mm, while general in-house steel tooling reaches ±0.01 mm, and a well-maintained production mold can run 100,000+ cycles up to the millions. What you are checking at T1 is whether an old mold can still reach that standard on your new machine.
The table below is a practical way to read common first-shot findings. It separates problems that can be solved by adjusting the process from problems that need steel work.
| First-shot finding | Likely cause | Usual next step |
|---|---|---|
| Flash along the parting line | Clamp too low, worn parting surface, or venting issue | Adjust process first; inspect steel if it remains |
| Short shots (incomplete fill) | Low injection pressure, gate issue, or flow length | Tune settings and gate; check for a blocked vent |
| Sink marks or voids | Thick sections or insufficient packing | Review wall thickness and hold pressure |
| Warpage on long flat panels | Uneven cooling or high residual stress | Balance cooling; review material and orientation |
| Parts will not assemble | Shrink variation or tolerance stack across parts | Measure mating parts; decide process fix vs steel fix |
When first shots show defects, the practical question is whether to repair the mold or replace it. Our guide on repairing or replacing an old mold walks through that decision, including how to read trial samples.
8. A Real Model-Car Transfer: What We Found and How We Reported It
The clearest way to explain a transfer is to describe one we worked on. A brand was moving a line of legacy plastic model-car tooling to a new factory. The product was not a single part. One kit could span around ten part categories — the body, chassis, interior, wheels, tires, clear windows, surface-finished pieces, water-slide decals, an instruction sheet, and a retail box. Roughly seven of those are injection molded, and most molded pieces came from their own tool. In practice, a single kit could depend on eight to ten separate molds before it assembled as a complete set.
When the tooling moved, it did not arrive as one complete set. For one kit, the molds came in two or three separate batches: the main body mold was on site first, while the clear-window and other supporting molds were still pending. That is a normal situation, and it changes what you can promise. Until every mold for a kit is present and proven, that kit cannot be assembled and its delivery date cannot be confirmed.
We checked the tools the way the checklist above describes, using three references for every item: product number, mold number, and part list. For each tool we recorded whether it had arrived, what was still to be transferred, and which kit the missing piece would hold up. That gave the brand a straight answer to a question a simple mold count could never settle: which kits were blocked, and which steps could move forward now.
Then we ran a first trial on the molds that were ready. We kept the sample parts and photos, and recorded what we saw. On that first run, several tools that looked sound on the outside still produced two recurring defects — flash and short shots. Those findings were not guesses from a visual check; they came from parts actually molded on our machines. Our engineering and tooling team used the samples to identify which areas to inspect and repair, then planned a second trial around the project schedule.
At the close of that first phase we had four concrete deliverables in hand. First, real sample parts molded from the old tools on ChilBo equipment. Second, a defect log naming flash and short shots from those parts rather than from a visual guess. Third, an inspection and repair list for the engineering and tooling team. Fourth, a kit-by-kit arrival status sheet showing which molds were on site and which were still pending. On that basis we could tell the brand which kits still waited on tooling, and which processes could start ahead of the rest.
Notice what those outputs are and are not. They are evidence you can hold — sample parts, photos, a repair list, a kit-by-kit status sheet. They are not an order quantity or a named customer, because a transfer assessment is not the same as a completed production run. We keep that line clear on purpose. A documented, part-by-part picture turns a transfer that looks fine on paper into one that will actually assemble at the end.
9. Cavity-by-Cavity Validation and the Multi-Kit Arrival Matrix
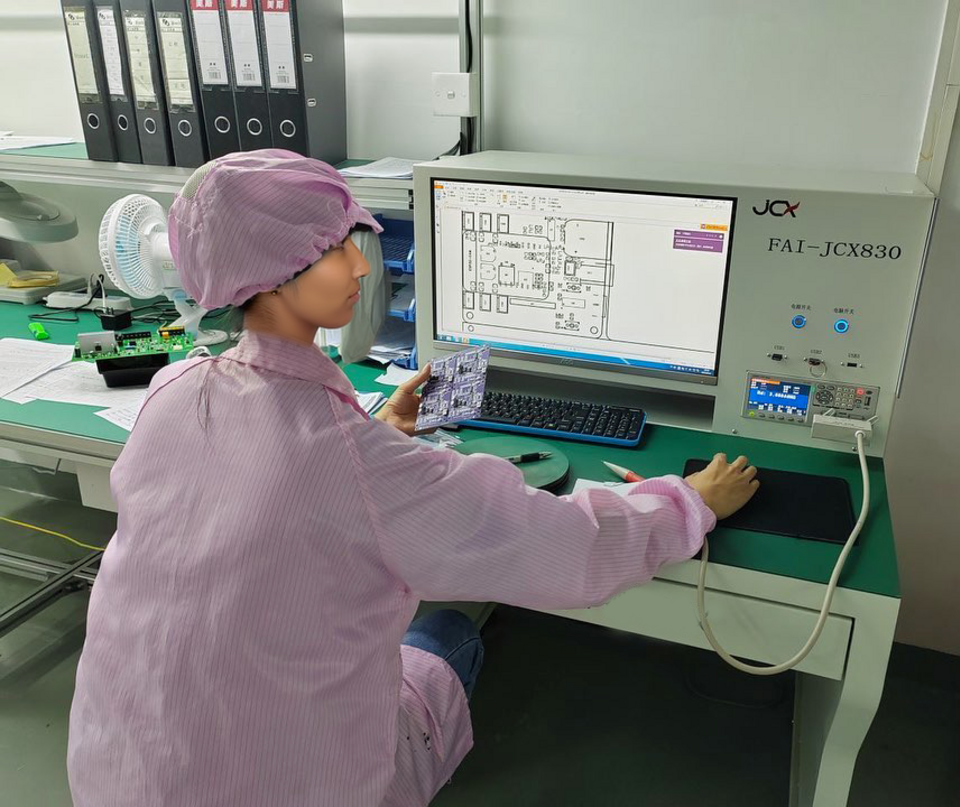
For multi-cavity molds, check every cavity, not just one good part. Label sample parts by cavity number and measure critical dimensions. A mold can look fine overall while one cavity drifts out of tolerance, which is enough to spoil assembly fit across a whole kit. Documented project work on precision parts shows how a factory validates tooling cavity by cavity.
For a kit program, pair that cavity data with an arrival matrix. If one model-car kit can draw on eight to ten molds, a simple “all tools received” note hides too much. Track each part of the kit, the mold it needs, and what you log at receiving. The table below shows the format we use; the status column stays blank on purpose, because every transfer fills it in differently.
| Kit element | Tool required | What we log at receiving | Effect if missing |
|---|---|---|---|
| Body | Body mold | Arrived / pending, cavity count, T1 result | No main shell for the kit |
| Chassis | Chassis mold | Arrived / pending, fit points, T1 result | Body cannot mount |
| Clear windows | Clear-part mold | Arrived / pending, optical finish, T1 result | Kit cannot be completed |
| Wheels and hubs | Wheel mold | Arrived / pending, hub fit, T1 result | Running assembly incomplete |
| Interior | Interior mold | Arrived / pending, fit points, T1 result | Visible detail missing |
| Decals and instruction | Printed items, not molded | Artwork version, print run status | Not retail-ready |
A matrix like this turns a confusing pile of molds into a clear production picture. It also gives your customer an honest answer about which kits can move forward. Fit problems found at this stage often come from tolerance stack, which we explain in our article on why model kit parts do not fit.
10. Who Owns What: Custody, Responsibility, and Cost
A transfer creates real questions about ownership. Who holds title to the tooling? Who is responsible if a mold is damaged in transit or during a trial? Who pays for repairs found at T1? Put the answers in writing before steel moves. A clear custody record, signed by both sides, prevents a small repair from turning into a dispute.
Cost should be split by cause. Transport damage, wear from normal use, and defects caused by the new process are three different things. Agree in advance who covers each. If your transfer also involves keeping an old chassis while changing a few parts, our guide on reusing a chassis versus opening new tooling explains how to decide which tools to move and which to rebuild.
11. How to Choose the Right Transfer Partner
Put the decision on evidence, not on a low freight quote. A capable transfer partner will assess the tooling, share trial results, and tell you plainly what is missing. Use these questions as a scorecard when you compare factories:
- Will you inspect and document each mold before we ship it?
- Can you confirm your machines can run our tooling to our tolerances?
- Do you run T1 and share parts, photos, and settings with us?
- How do you track a multi-kit program when molds arrive in batches?
- Who decides repair versus replace, and on what evidence?
- How do you record custody and protect our design files under NDA?
A factory that answers these questions with documents and sample parts is showing you how it works. A factory that answers only with a price is asking you to take the risk. If you want to see how a transfer is handled in practice, review our tooling takeover service for precision parts buyers, which covers assessment and condition reporting before production begins.
Request a Quote
If you have old molds that need a new home, ChilBo can help you work out whether they are ready to run and what it will take to complete your kit. Share your mold list, kit bill of materials, and any available samples, and we will outline an inspection and T1 plan with a clear view of what is missing. Contact our team to request a tooling transfer assessment and a quote.
How early should we start a tooling transfer?
As early as possible. The inventory, condition baseline, and machine checks should happen before you agree a production date. Starting early gives you room to repair or replace a mold without putting the whole kit at risk.
Can a factory inspect our molds before they ship?
Often yes, if the molds are accessible or if you can send representative samples and records. At minimum, prepare photos, part numbers, and approved samples so the receiving team can build a baseline before the steel arrives.
What if only some of our molds arrive?
Track each kit against its required mold set, not against a total mold count. You can still trial and qualify the molds that have arrived, while listing clearly which kits are blocked by missing tools.
Do you run T1 on old tooling?
Yes. A first trial on the receiving factory’s own equipment is the most reliable way to see whether a mold can run to your standard. Keep the sample parts and settings from T1 as the reference for every later decision.
Who owns the tooling during a transfer?
Ownership should stay with the brand unless a written agreement says otherwise. Record custody at each handover, and state in advance who is responsible for transport damage, trial damage, and approved repairs.
How long does a transfer and re-trial take?
It depends on how many molds need repair and how quickly the missing tools arrive. As a reference, a first sample in a new project is typically ready in 5–10 days and mold making takes 2–4 weeks after the design is frozen. An old-mold transfer is different: the sampling clock starts only when the mold is on site and cleared for a trial, so the condition found at T1 is the biggest variable. Ask for a per-mold schedule rather than one date for the whole kit.